Basic Instruction for setting up a Ubiquiti Unifi AP
Package includes –
1. Unifi AP/LR Radio (White dome)
2. Power Over Ethernet unit (Black rectangular unit)
3. Power Cord
4. Mounting bracket for ceiling mount of AP/LR
5. Quick Start Guide
Additional Hardware Required
• 2 x SFTP Ethernet Cables of appropriate length
• 1 x metre and 1 x 5 metre would be recommended
• If not purchased with the UniFi unit we recommend Cat 6 ethernet cable with double shielding plus earth drain wire
Hardware Setup
• The UniFi unit needs to be connected to your existing ADSL or similar router via the Power Over Ethernet device
• Unit may be ceiling mounted or depending on the location can work as efficiently simply hung on the wall via a hook
• The Power Over Ethernet unit has two Ethernet ports labelled as POE and Ethernet and one power port
• Plug one of the Ethernet Cables into each of the two Ethernet ports
• The other end of the cable from the POE port then needs to be plugged into the Unifi AP/LR
• The other end of the cable from the Ethernet port needs to be plugged into the ADSL Router (preferably port 1)
• Now attach the power cable to the POE and plug it into a power outlet
• The Unifi unit will after a short delay display a blue light and begin establishing a connection with your network. At which time it should turn green
• After a couple of minutes it should be available to any wireless device
This should be enough to get you up and running. In order to manage the unit and make any changes you may require you will need to run the Unifi Controller software on a PC. It can be downloaded from https://www.ubnt.com/download/unifi and selecting the latest version of UniFi Network Controller for Windows.
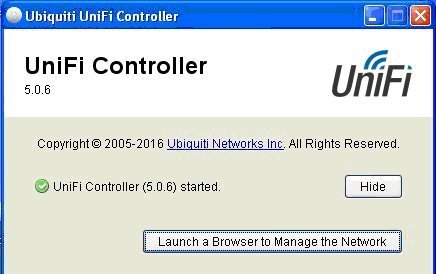
Once you have installed the Controller Software you need to launch the UniFi Controller. To launch the UniFi Configuration and Management interface you must first run start the UniFi Controller.

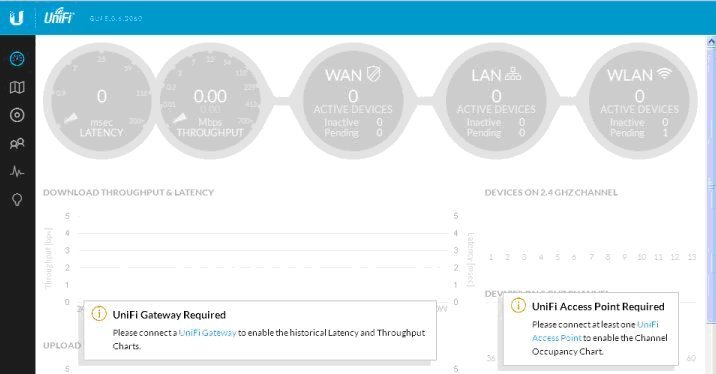
Click on Launch a Browser button and your default Internet Browser will open the management portal below.

The picture is a little unclear but you should see in the WLAN circle “Pending 1”.
Click on this circle and it will open up to display.
Now Click on ADOPT and the status should change from “pending approval” to “adopting”.
You can either wait for the screen to update or click on the “refresh now” button.
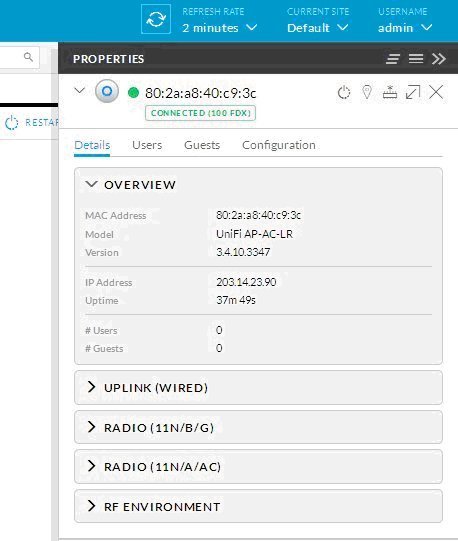
Status will now show “Connected”.
NB. If for any reason the reason the device does not show up please check that is I connected properly to your network and cycle the power to be sure. You can then use the table provided here - https://help.ubnt.com/hc/en-us/articles/204910134-UniFi-What-do-the-LED-Color-Patterns-Represent-for-UniFi-Devices - to troubleshoot the issue.
Once Adopted please click on the device in the above screen and it will open a configuration pane on the right of the screen.

There are a few basic options I will explain here, for any further detail please consult the Ubiquiti Controller Guide available here - https://dl.ubnt.com/guides/UniFi/UniFi_Controller_V5_UG.pdf or the Ubiquiti Support Knowledgebase which provides answers to question and some excellent tutorials available here - https://help.ubnt.com/hc/en-us
Giving your Radio a Name for WiFi devices and enable security.
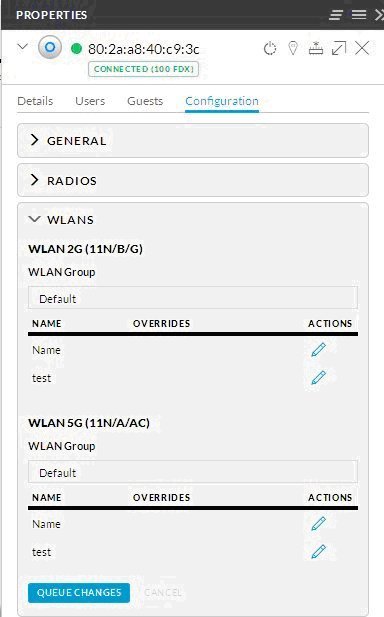
1. Click on Configuration
2. Click on WLANS
3. Under WLAN 2G Click on the pencil symbol next to test
4. Uncheck enabled on this AP to disable it
5. Click on Save
6. Under WLAN 2G Click on the pencil symbol next to Name
7. In the SSID type a name. This is how your phone,tablet,laptop and other devices will see the network
8. Click on Security Key and type a phrase or number sequence or combination as your password
9. Click on Save
10. This is the password you need to enter when you connect with your WiFi device

Connectivity
• Either on a laptop/tablet or phone enable Wireless mode and bring up a list of available Wifi nodes
• You should see one with the name you created in 7.
• Select this and Connect to it. You will then be prompted for a password. Use the one you created in 8.
See UAP Products
